Usb Vcom Driver For Mtk 8127 Processor
Download MTK Drivers (32 & 64 bit) XP Vista Win7 Win8 File size: 108.57 KB ZIP.
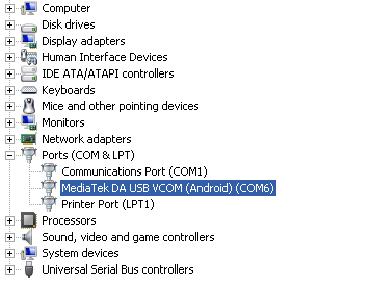
Whenever a phone gets bricked or gets severely damaged you need to restore it by installing Fastboot ROM on it. It is a complicated task & when during that desperation to get your device fixed asap you get incomplete information or non working download links then it can be really frustrating. Launchgtaiv not working. So, here I am going to create a detailed step by step guide with fully operational links. Pre-requisites: • Android USB (ADB) Driver. • VCOM Driver (depending on your PC OS).
• Smart Phone (SP) Flash Tool. • Fastboot ROM. • 7-zip or any other compression software like WinZip, WinRAR etc. (7-zip is preferred). • Your MediaTek Chipset device. • Your PC/Laptop.
• Compatible USB Cable. Procedure: • Download Android USB (ADB) Driver, VCOM Driver (depending on your PC OS), Smart Phone (SP) Flash Tool, your device Fastboot ROM & 7-zip. • Install Android USB (ADB) Driver & VCOM Driver (depending on your PC OS). • Extract your device Fastboot ROM tgz file & extract its content using 7 Zip which will give output as a Fastboot ROM tar file.
• Extract the Fastboot ROM tar file by 7 zip. • Extract Smart Phone (SP) Flash Tool by 7 zip & by executing the flash_tool application file from within the extracted folder run the tool. • When you execute the application following pop up appears. Microsoft word unicode converter mongolian. • Click on OK & the following screen will show up.
Click the Scatter Loading button & locate the required file from the folder where you extracted the Fastboot File. • Once scatter file is loaded the window will look like as follows: • Ensure that: • All files in the list are selected. • Drop down menu option above file list is Download Only.
• Click the Download icon, file list will be greyed out & Stop button will be activated. • Now – • Switch off your device. • Connect your Device to PC/Laptop via compatible USB Cable. • Once the device is securely connected, the progress bar at the bottom will show some activity. Wait for the process to end. • On the successful completion of the task a pop up window with Right sign will appear. • Disconnect the device & restart.
Allow it sometime to boot up & your device will be fixed. IMPORTANT NOTE: • I did it successfully on my Xiaomi Redmi Note 3G. • Carry out each instruction very carefully & exactly as directed. • I’m not at all responsible for any damage whatsoever to your device.
• Debug your device at YOUR OWN RISK. OTHER REQUIRED POSTS: • • File Download.
Contents • • • • • • • • • • • • • • • • • • • • • • • • • • • • Timeline [ ] • 1997: founded (spin-off from United Microelectronics Corporation ()) • 2005: acquires (802.11abg chipsets) () • 2007: acquired (cellular chipsets) • 2011: acquires (802.11abgn Wi-Fi chipsets) • 2012: acquired (digital signal processing solutions) • 2012: announced that it would acquire MStar Semiconductor Inc., which held a strong market share position in digital television chips The merger between and was delayed by antitrust concerns of China and South Korea and finally finalized on Feb. 2014 For more information on: • 802.11 chipsets developed by Inprocomm before the acquisition, such as those having a chip name that starts with IPNxxxx, see. • 802.11 chipsets developed by Ralink before the acquisition, such as those having a chip name that starts with RTxxxx, see.
• A substantial amount of additional information is available at.