Ubuntu Serial Port Sniffer Cable
From time to time we need to monitor activities of our serial ports, say, developers might have to sniff RS232 or RS485 port to code an application or create a driver for a serial device. Windows OS, however, does not have built-in COM monitor so you cannot really watch the data flow in and out of the port unless you employ one of these methods: • Use COM Port Sniffer utility, this would be the easiest solution to the problem. Special applications are designed to listen to activities at both ends of the communication and display the data on a screen or record it on a disk. • Hardware RS232 sniffer - although it has disadvantages, it is really handy in certain cases.
A 'true' serial monitor for Linux. Computer by a 25pin serial cable. It utilized touch, as well. Instead of hooking into a serial port driver will use a logic. Nov 10, 2017 - Overview. This Best Practice shows how to connect a serial console to the MinnowBoard. FTDI Serial Cable USB Adapter. On a Linux host, you can connect to the MinnowBoard Turbot using, for example. The HDMI monitor does not need to be present for the serial interface to be active during boot.
For example, a full duplex communication on an RS232 channel does not allow one to tie both lines together, two serial ports are monitored separately. Contents • •.
On this page • • • • • Setting up a serial console This tutorial will show you how to set up a serial console on a Linux system, and connect to it via a null modem cable. This is quite useful if your Linux server is in a headless configuration (no keyboard or monitor), as it allows you to easily get a console on the system if there are any problems with it (especially network problems, when SSH is not available). In the end, the GRUB menu will appear over the serial link, as will the bootup messages (output when booting the system). I'm using Debian Etch on the server and Ubuntu Edgy on my client, although this should work on any Linux distribution. First steps One of the most important things we need to check that you do actually have a serial port on the server:).
Take a look at the back of your server, and see if it has a 9-pin serial port. Most motherboards have either one or two serial ports. On the system, check to see that Linux is recognising the serial ports::~# dmesg grep tty serial8250: ttyS0 at I/O 0x3f8 (irq = 4) is a 16550A 00:08: ttyS0 at I/O 0x3f8 (irq = 4) is a 16550A This shows that my system has one serial port, ttyS0 (remember this for later). GRUB configuration The next step is to edit the GRUB configuration, so it sends its messages to the serial console. One of the most important things is to set a password, otherwise anyone can connect a serial cable, edit the GRUB configuration line while the system is booting (via the 'e' key), and get root access. When a password is set, interactive menu editing will be disabled, unless the correct password is entered. To set the password, we first need to get the encrypted version of it.
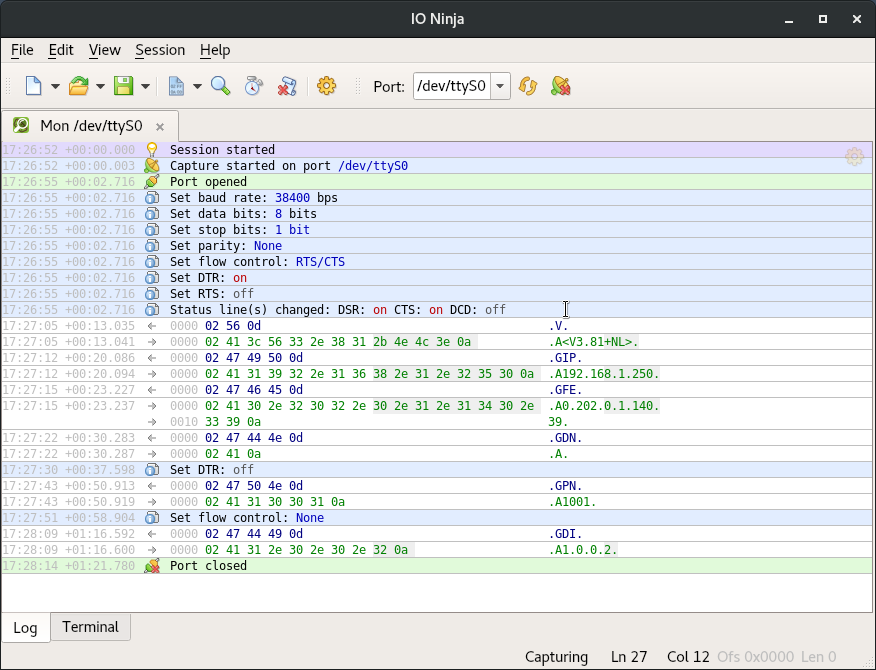
Run grub, and use the 'md5crypt' command to encrypt the password: grub> md5crypt Password: ******** Encrypted: $1$AlfMq1$FxRolxW5XvSLAOksiC7MD1 Copy the encrypted version of the password (we need it for the next step), and then type quit to exit. Now, we need to edit the GRUB configuration. Edit the /boot/grub/menu.lst file (by typing nano /boot/grub/menu.lst), and find this section: ## password ['--md5'] passwd # If used in the first section of a menu file, disable all interactive editing # control (menu entry editor and command-line) and entries protected by the # command 'lock' # e.g. Password topsecret # password --md5 $1$gLhU0/$aW78kHK1QfV3P2b2znUoe/ # password topsecret Below that, add: password --md5 $1$AlfMq1$FxRolxW5XvSLAOksiC7MD1 serial --unit=0 --speed=38400 --word=8 --parity=no --stop=1 terminal --timeout=10 serial console Replace $1$AlfMq1$FxRolxW5XvSLAOksiC7MD1 with the encrypted form of your password. The second line tells GRUB to initialise the serial port at 38,400 bps (same speed as the standard console), 8 data bits, no parity, and 1 stop bit (basically, the standard settings). Note that the --unit=0 means that it will use the first serial port (ttyS0). If you're using the second serial port (ttyS1), change it to --unit=1.
The last line tells GRUB to show its menu on both the serial line and the console (monitor). Now, we also need to edit the kernel sections, so that they output messages to the serial console. At the end of every kernel line, add console=tty0 console=ttyS0,38400n8 (replace ttyS0 with the correct serial port). You can easily use faster baud rates like 57600. Vt102 is the best terminal emulation offered by the kernel. For more information - 'man console_codes'. For a comparison of various terminals see the list.